Writing
Chapter Structure
Organize your book in the Chapter Tree, the left sidebar that holds your Chapters along with any front and back matter.
How it works#
Every Project has a Chapter Tree in the left sidebar (the Activity Sidebar). It holds three labelled sections, top to bottom:
- Front matter: pre-text material like a copyright page or dedication.
- Body: your Chapters, numbered automatically (
1,2,3…) and shown in the order they were created. - Back matter: post-text material like a bibliography or "About the Author".
Click a Chapter in the Body to open it in the Editor.
Add a chapter#
- In the Body section, click the + icon on the right of the section header.
- Type the chapter title.
- Press Enter.
Rename a chapter#
Two ways:
- Double-click the chapter title in the sidebar, edit, press Enter.
- Open the ⋯ menu on the chapter's row and choose Rename.
Press Esc to cancel without saving.
Delete a chapter#
Open the ⋯ menu on the chapter's row and choose Delete.
Delete multiple chapters at once#
- Click the Select chapters icon (checkbox) at the top of the Body section. Selection mode turns on.
- Check the chapters you want to delete.
- Click Delete in the selection bar that appears at the top of the section.
- To leave Selection mode without deleting, click the X icon (where the checkbox icon was).
Front matter and Back matter#
Front matter and Back matter are filled by enabling individual sections. To add one:
- Click the + icon on the Front matter or Back matter section header.
- Pick a section from the dropdown.
The available sections are:
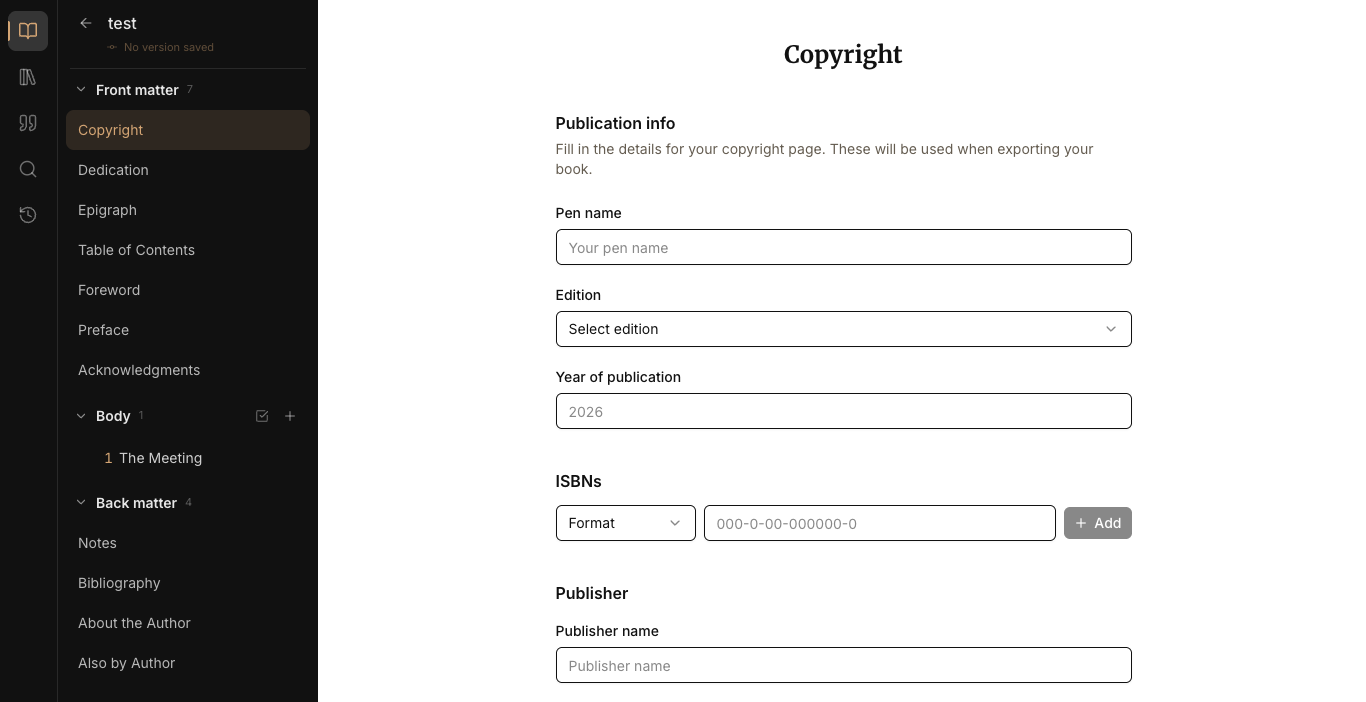
- Front matter: Copyright · Dedication · Epigraph · Table of Contents · Foreword · Preface · Acknowledgments
- Back matter: Notes · Bibliography · About the Author · Also by Author
Each enabled section opens its own dedicated editor when clicked. To remove a section, open its ⋯ menu and choose Remove.
Limitations#
- Deletion is permanent. Chapters and matter sections removed cannot be restored.