Getting Started
Quickstart
Set up your first Chaptora project and write your opening chapter, in under five minutes.
Before you start#
You'll need a Chaptora account. Sign up at chaptora.com/sign-up. Nothing to install; everything runs in the browser.
1. Create your project#
- From your Dashboard, click + New project.
- Give it a name. Your book's working title is fine. Optionally add a short description and a writing style; these guide the AI later and can be edited anytime from Project Settings.
- Click Create.
2. Add your first chapter#
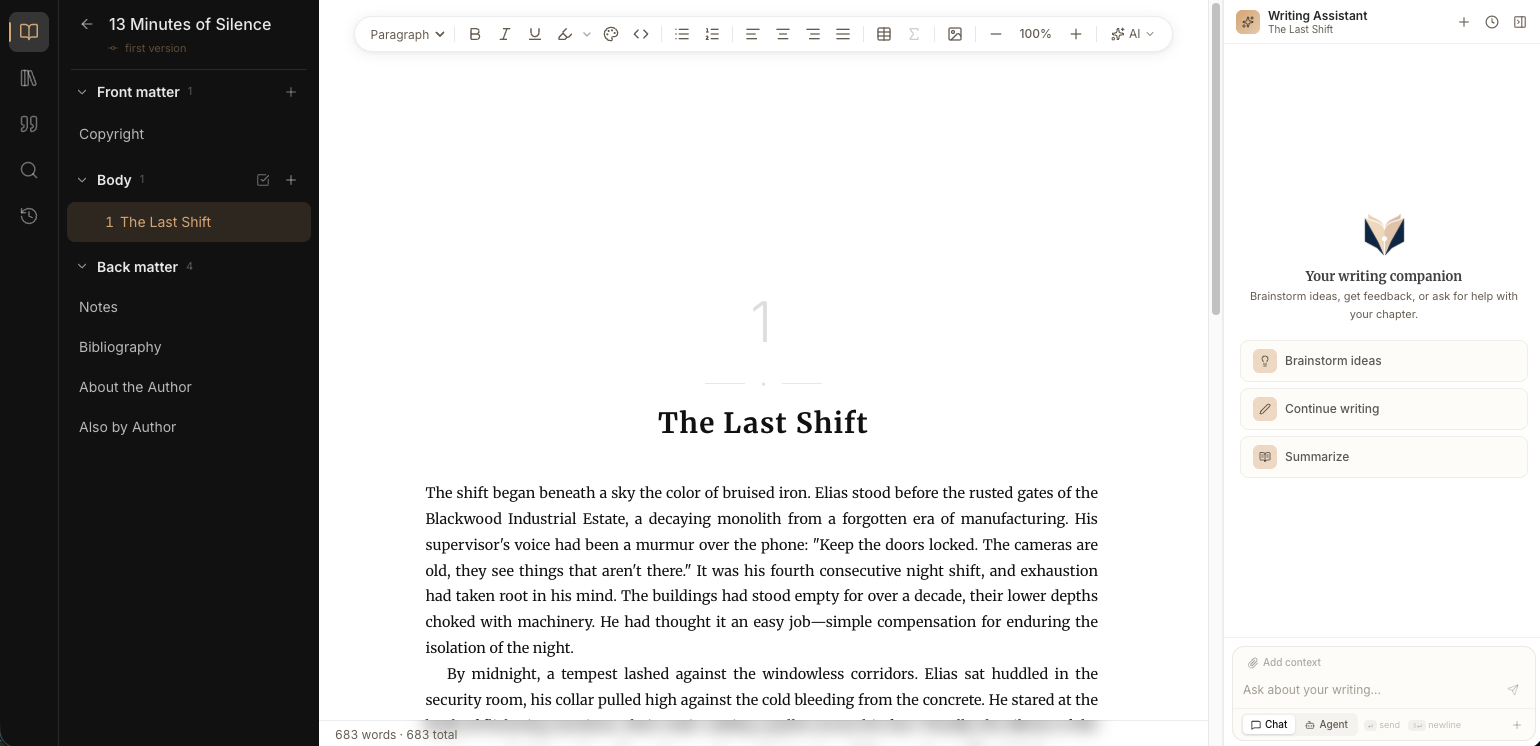
- In your new project, open the Body section of the Chapter Tree on the left.
- Click the + icon on the section header and type a title.
- Press Enter. Click the chapter to open it in the Editor.
3. Write something#
Just start typing in the Editor. Chaptora auto-saves as you go. The dot next to the chapter title shows the current save state. Standard formatting (headings, bold, lists, alignment, highlights, color) lives in the toolbar.
4. Try one AI suggestion#
The fastest way to feel what makes Chaptora different:
- Select a sentence you just wrote.
- Press Cmd+K (macOS) or Ctrl+K (Windows / Linux).
- Type an instruction, for example "make this more vivid", and press Enter.
- When the response arrives, you'll see a red/green Diff Approval bar at the top of the editor. Step through and click Accept to keep the change, or Reject to keep your original.
Now you've seen the core promise: the AI never overwrites your text silently. Every change is yours to approve.